CUSTOMER LOGIN

Why Plywood Cuts Differently on a CNC Router

Why Plywood Cuts Differently on a CNC Router

You've run the same CNC programme dozens of times. The cutter is performing well, the settings haven't changed, and the next sheet of plywood looks identical to the last. Yet suddenly you're seeing splintered veneers, rough edges or sections that need additional finishing.
Before adjusting the feed rate or changing cutters, it's worth examining the material.
Unlike MDF, plywood consists of individual timber veneers bonded together, typically with alternating grain directions. This layered construction gives plywood its strength and stability, but differences between veneers, adhesive layers and internal construction can also affect how it machines.
Why apparently identical plywood sheets can cut differently
Plywood quality isn't determined by thickness alone. Timber species, veneer thickness, core construction, adhesive and manufacturing consistency all influence cutting performance.
Core voids are one potential cause of irregular edges. When a cutter encounters a gap between internal veneers, the surrounding material may lack sufficient support, leaving a rough section or missing fibres along the profile.
Grain direction introduces another variable. Because adjacent veneers run in different directions, the cutter encounters changing fibre orientations throughout the sheet. Depending on the cutting direction and tool geometry, some layers may tear more readily than others.
Surface veneers can be particularly vulnerable, especially where thin decorative layers are poorly supported or bonded.
For repeat production, a change in plywood supplier, grade or construction is a good reason to test the material before committing to a full nest, even when the nominal sheet specification remains unchanged.
Reading the cut: what is the plywood telling you?
The location and appearance of a defect can help identify where to investigate. The pattern is often more informative than the defect itself.
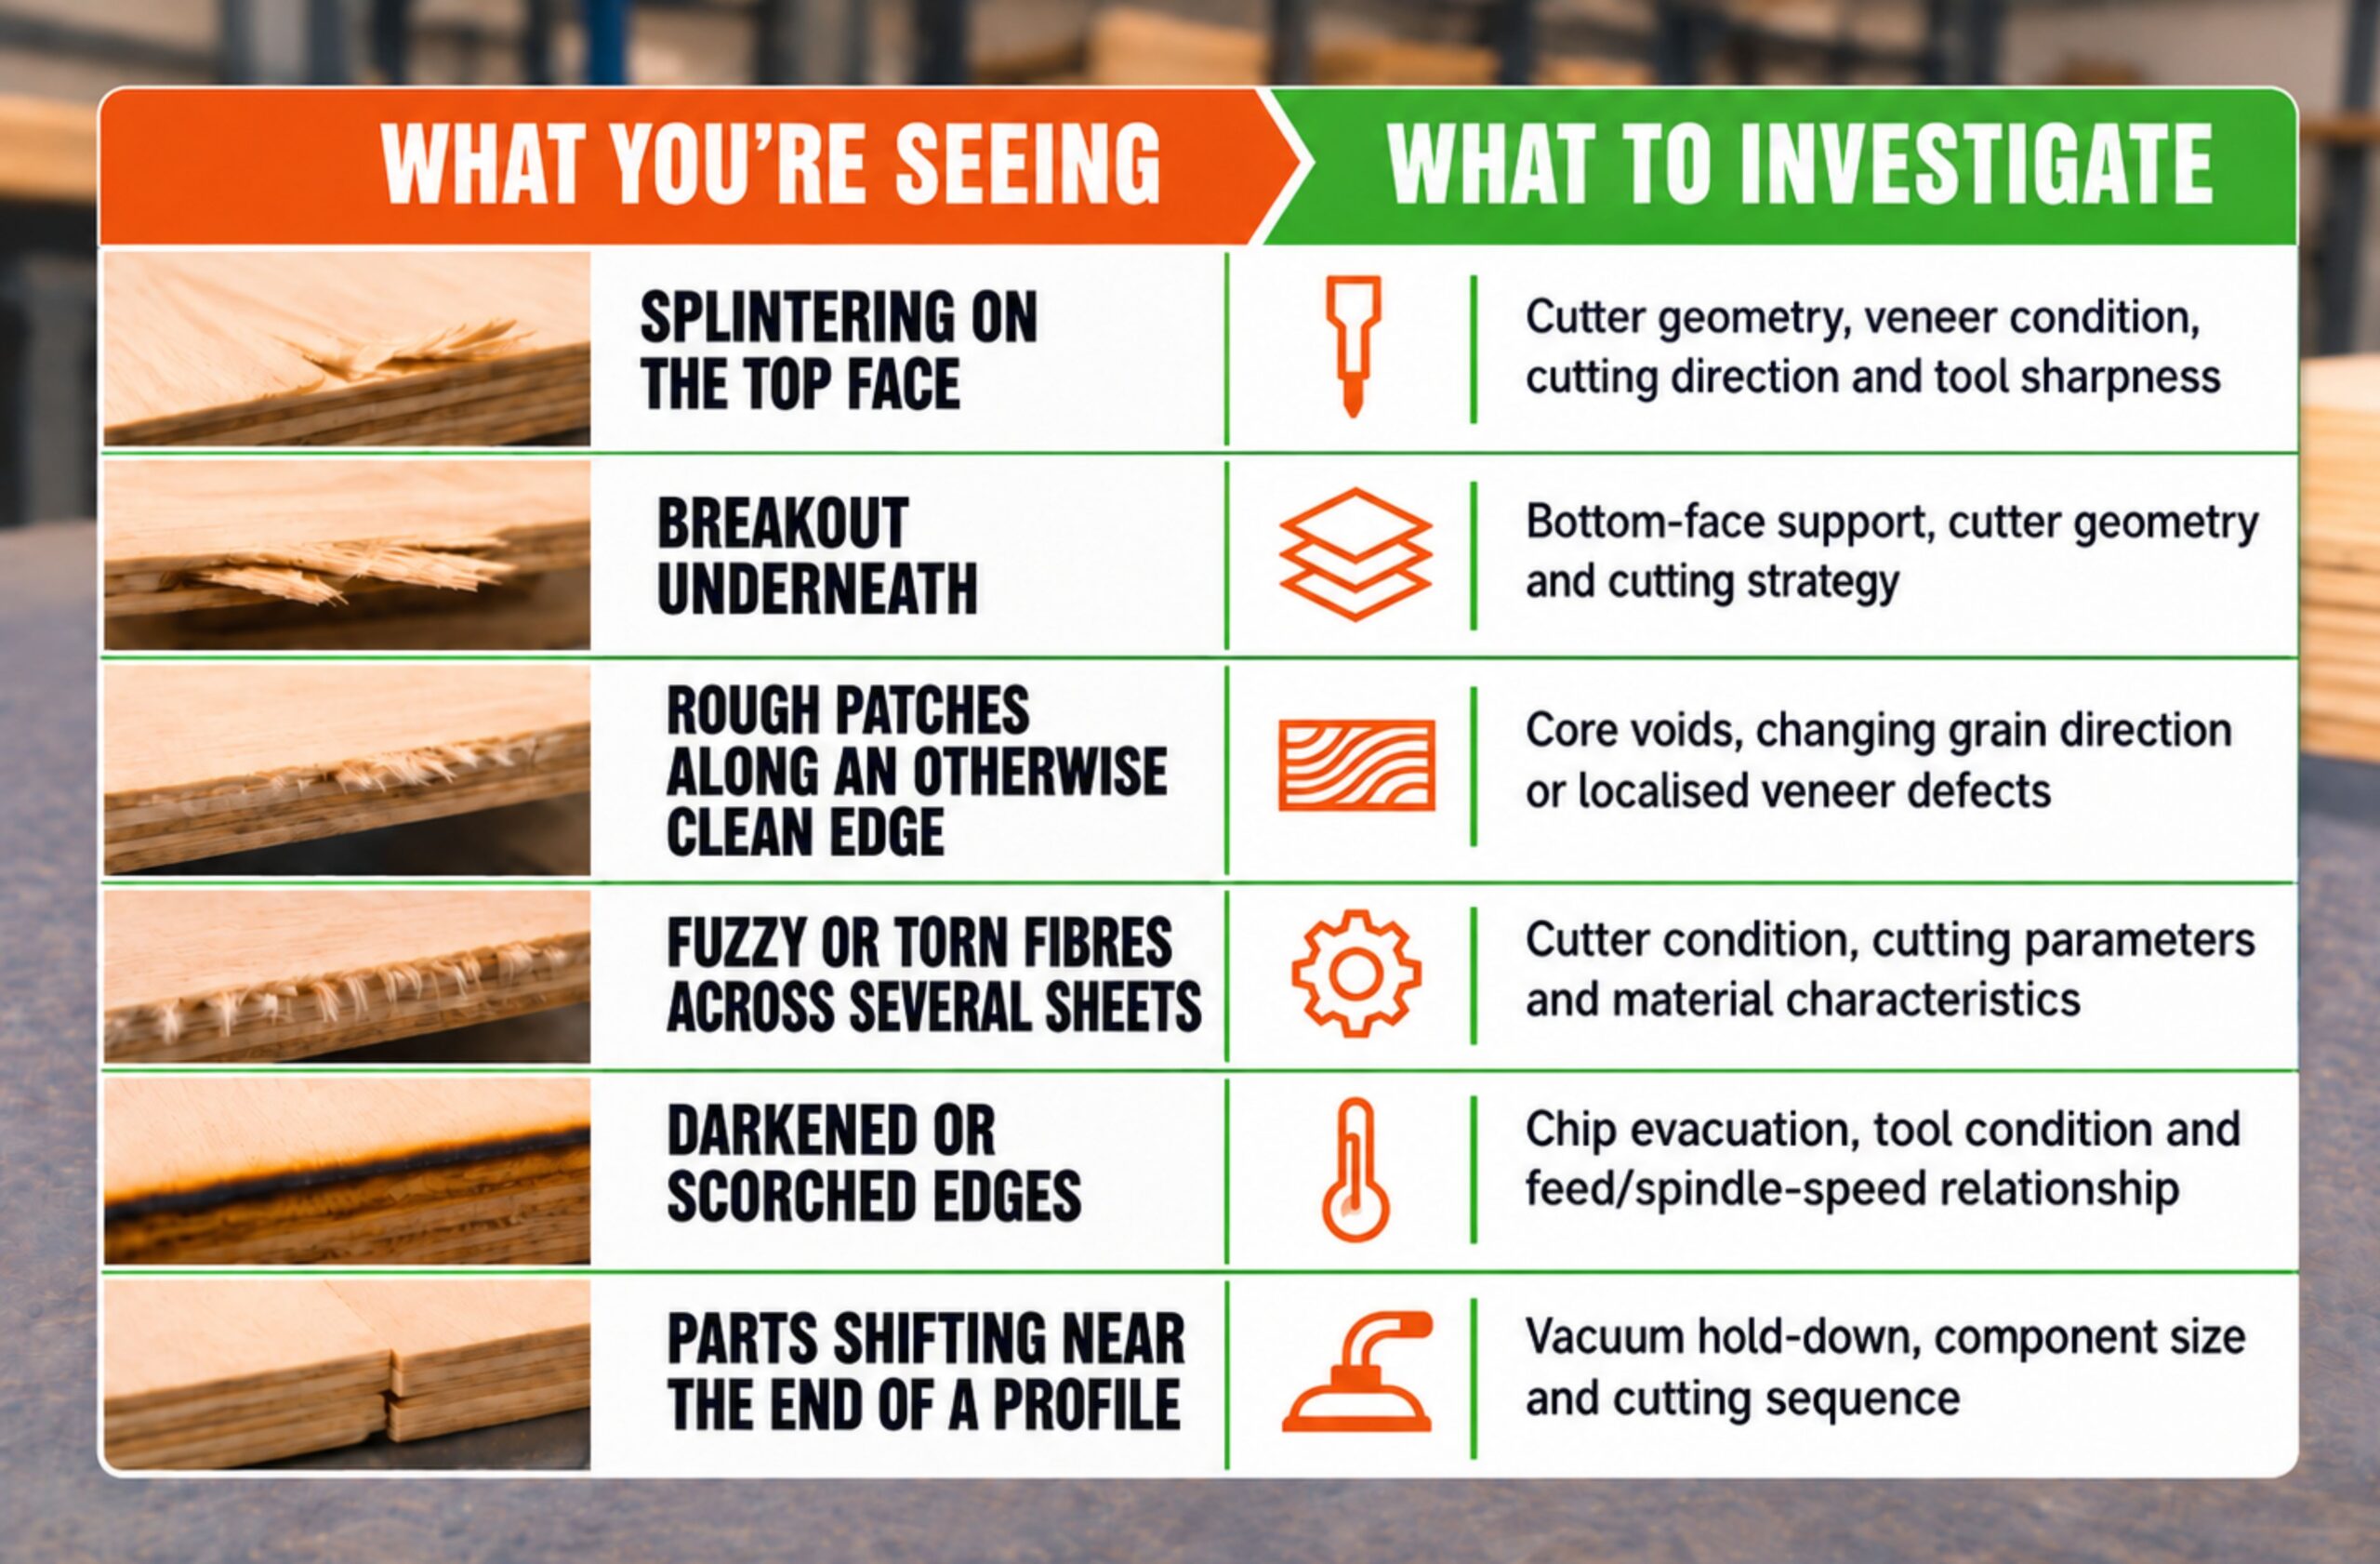
If a rough patch corresponds to a visible gap in the plywood core, adjusting spindle speed won't correct the missing material. However, if tearing repeatedly occurs along a particular cutting direction, the toolpath and cutter geometry may be contributing.
Compare whether the defect follows a particular area of the board, occurs at the same point in the programme or persists across different sheets. These observations can help narrow down the cause before changing any settings.
Choosing CNC tooling for plywood edge quality
The direction of the cutting action influences how plywood veneers behave, particularly when the finished component requires clean, visible edges.
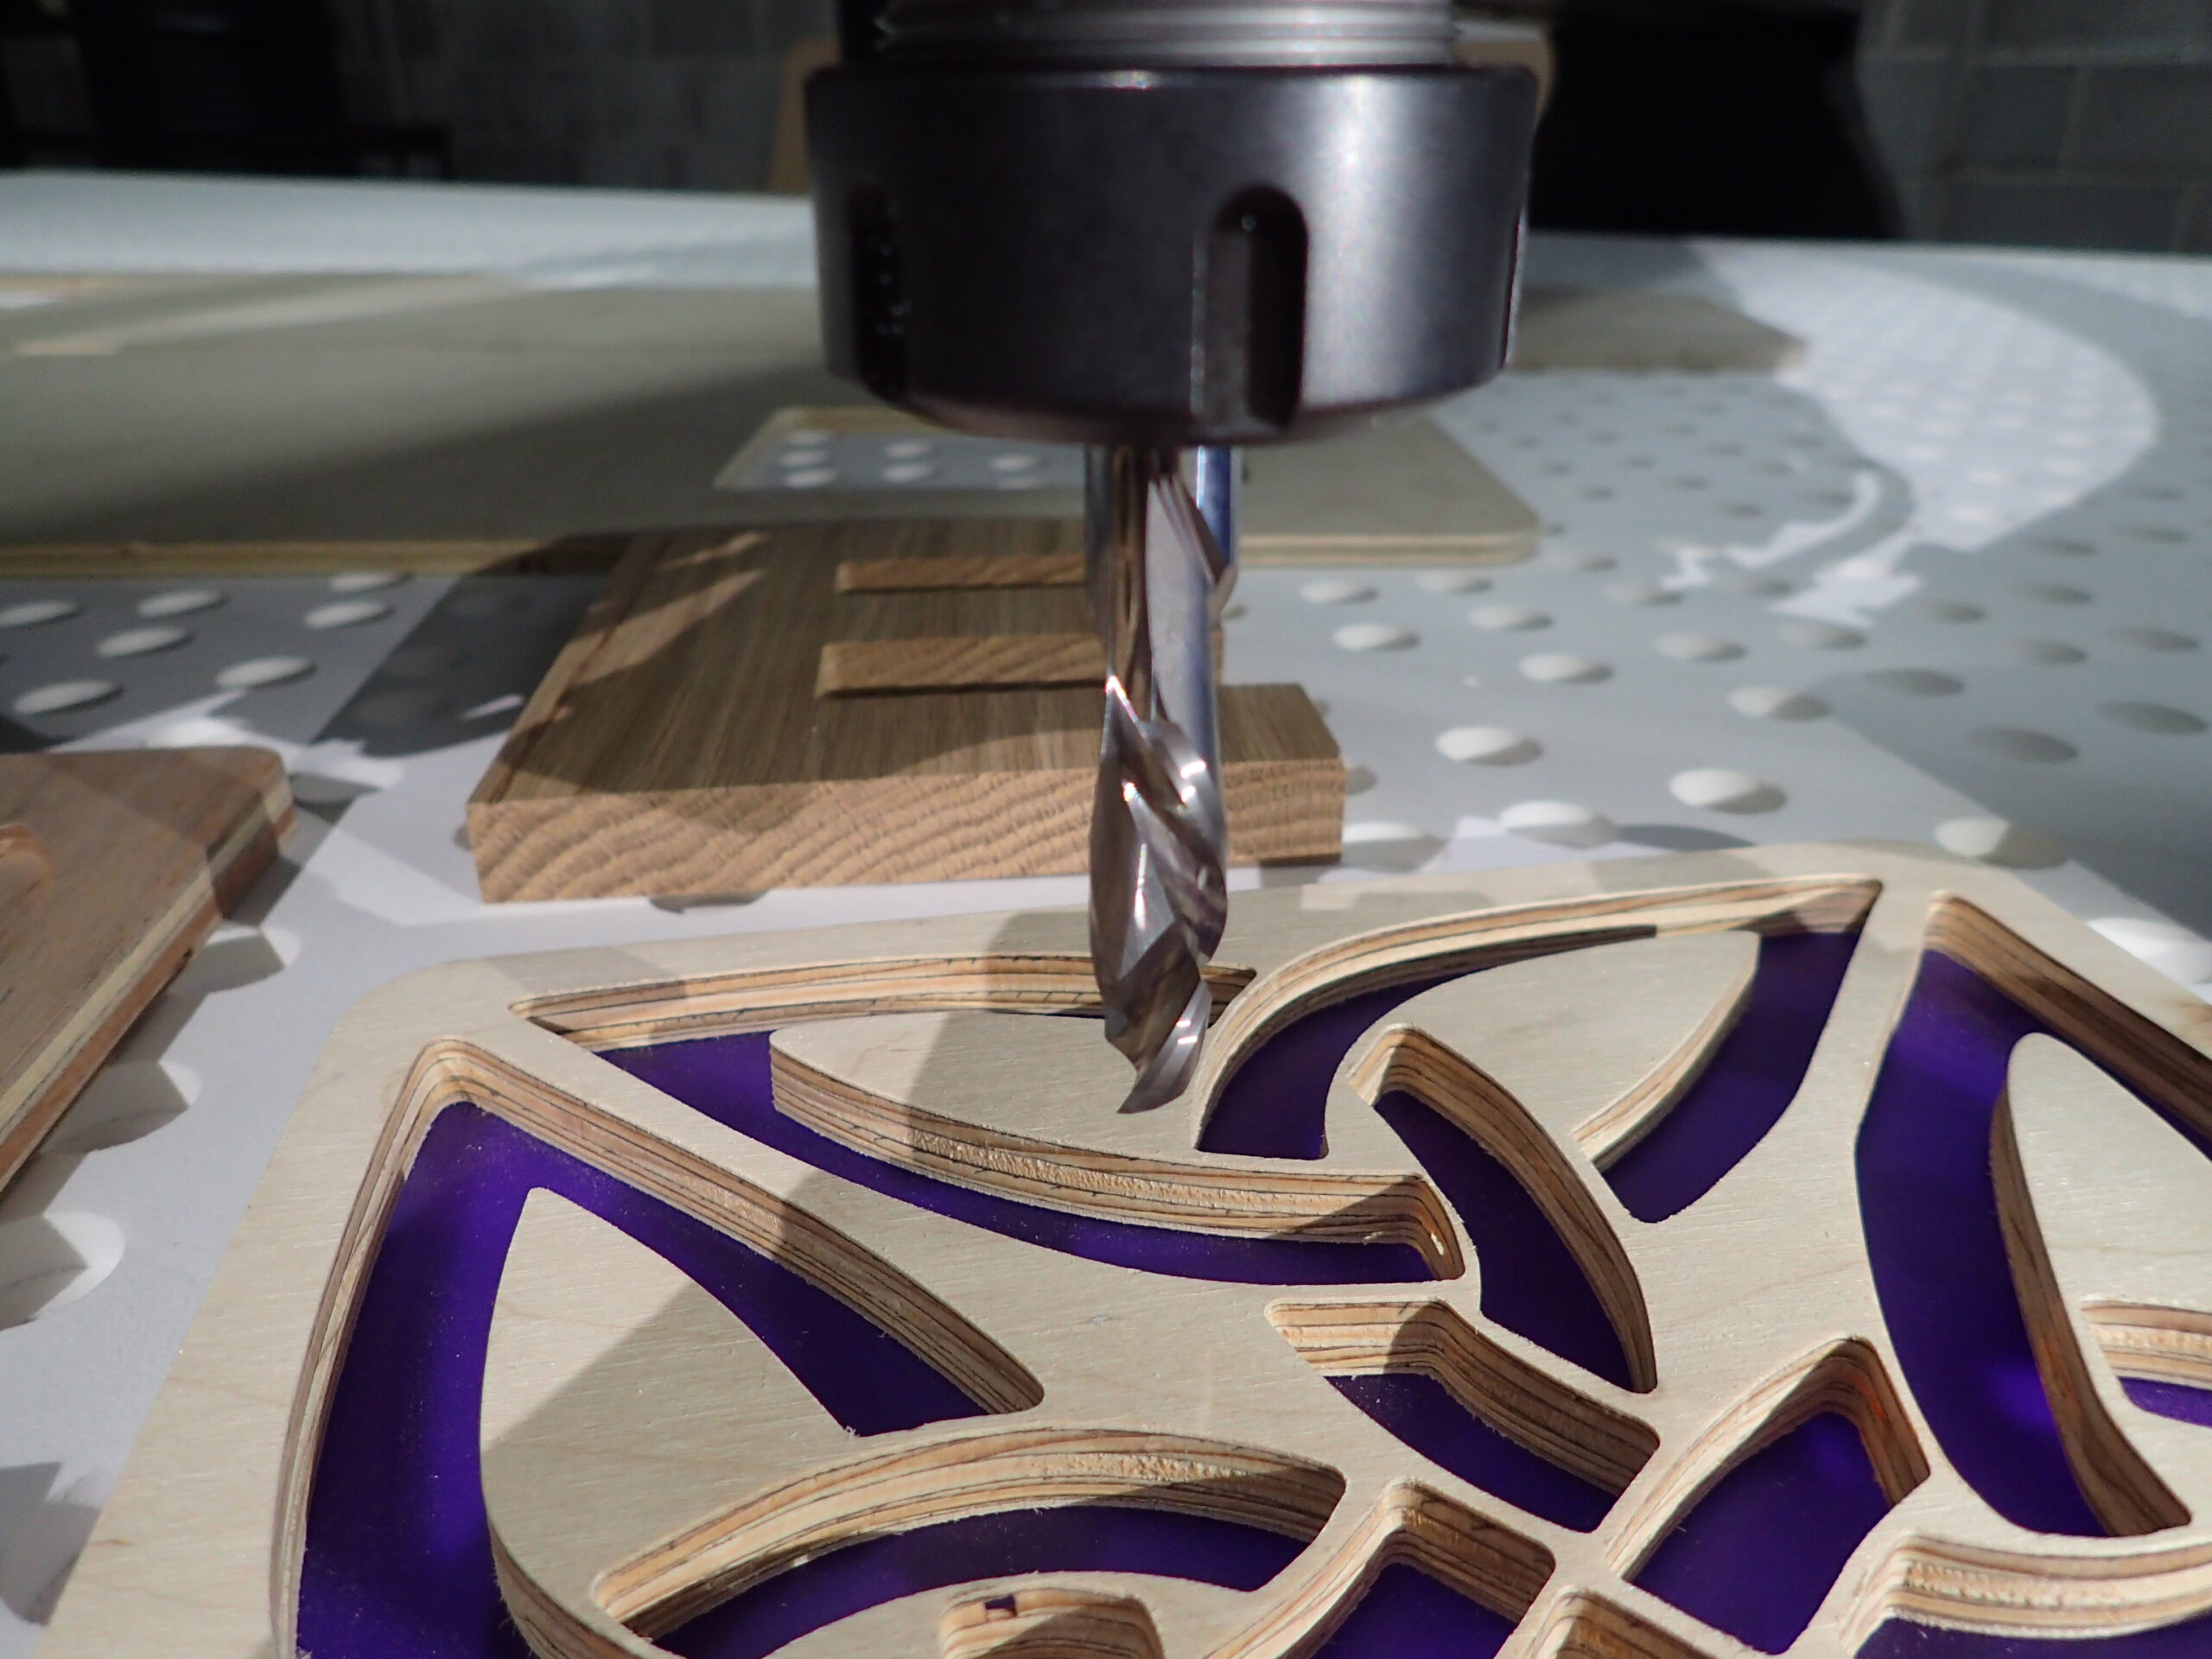
An up-spiral cutter draws chips upwards and away from the cut, helping with chip evacuation. However, this upward action can lift fibres from the top veneer and cause breakout.
A down-spiral cutter pushes the cutting action towards the material, helping protect the upper surface. The trade-off is that chips can be forced further into the cut, making cutting depth and chip clearance important considerations.
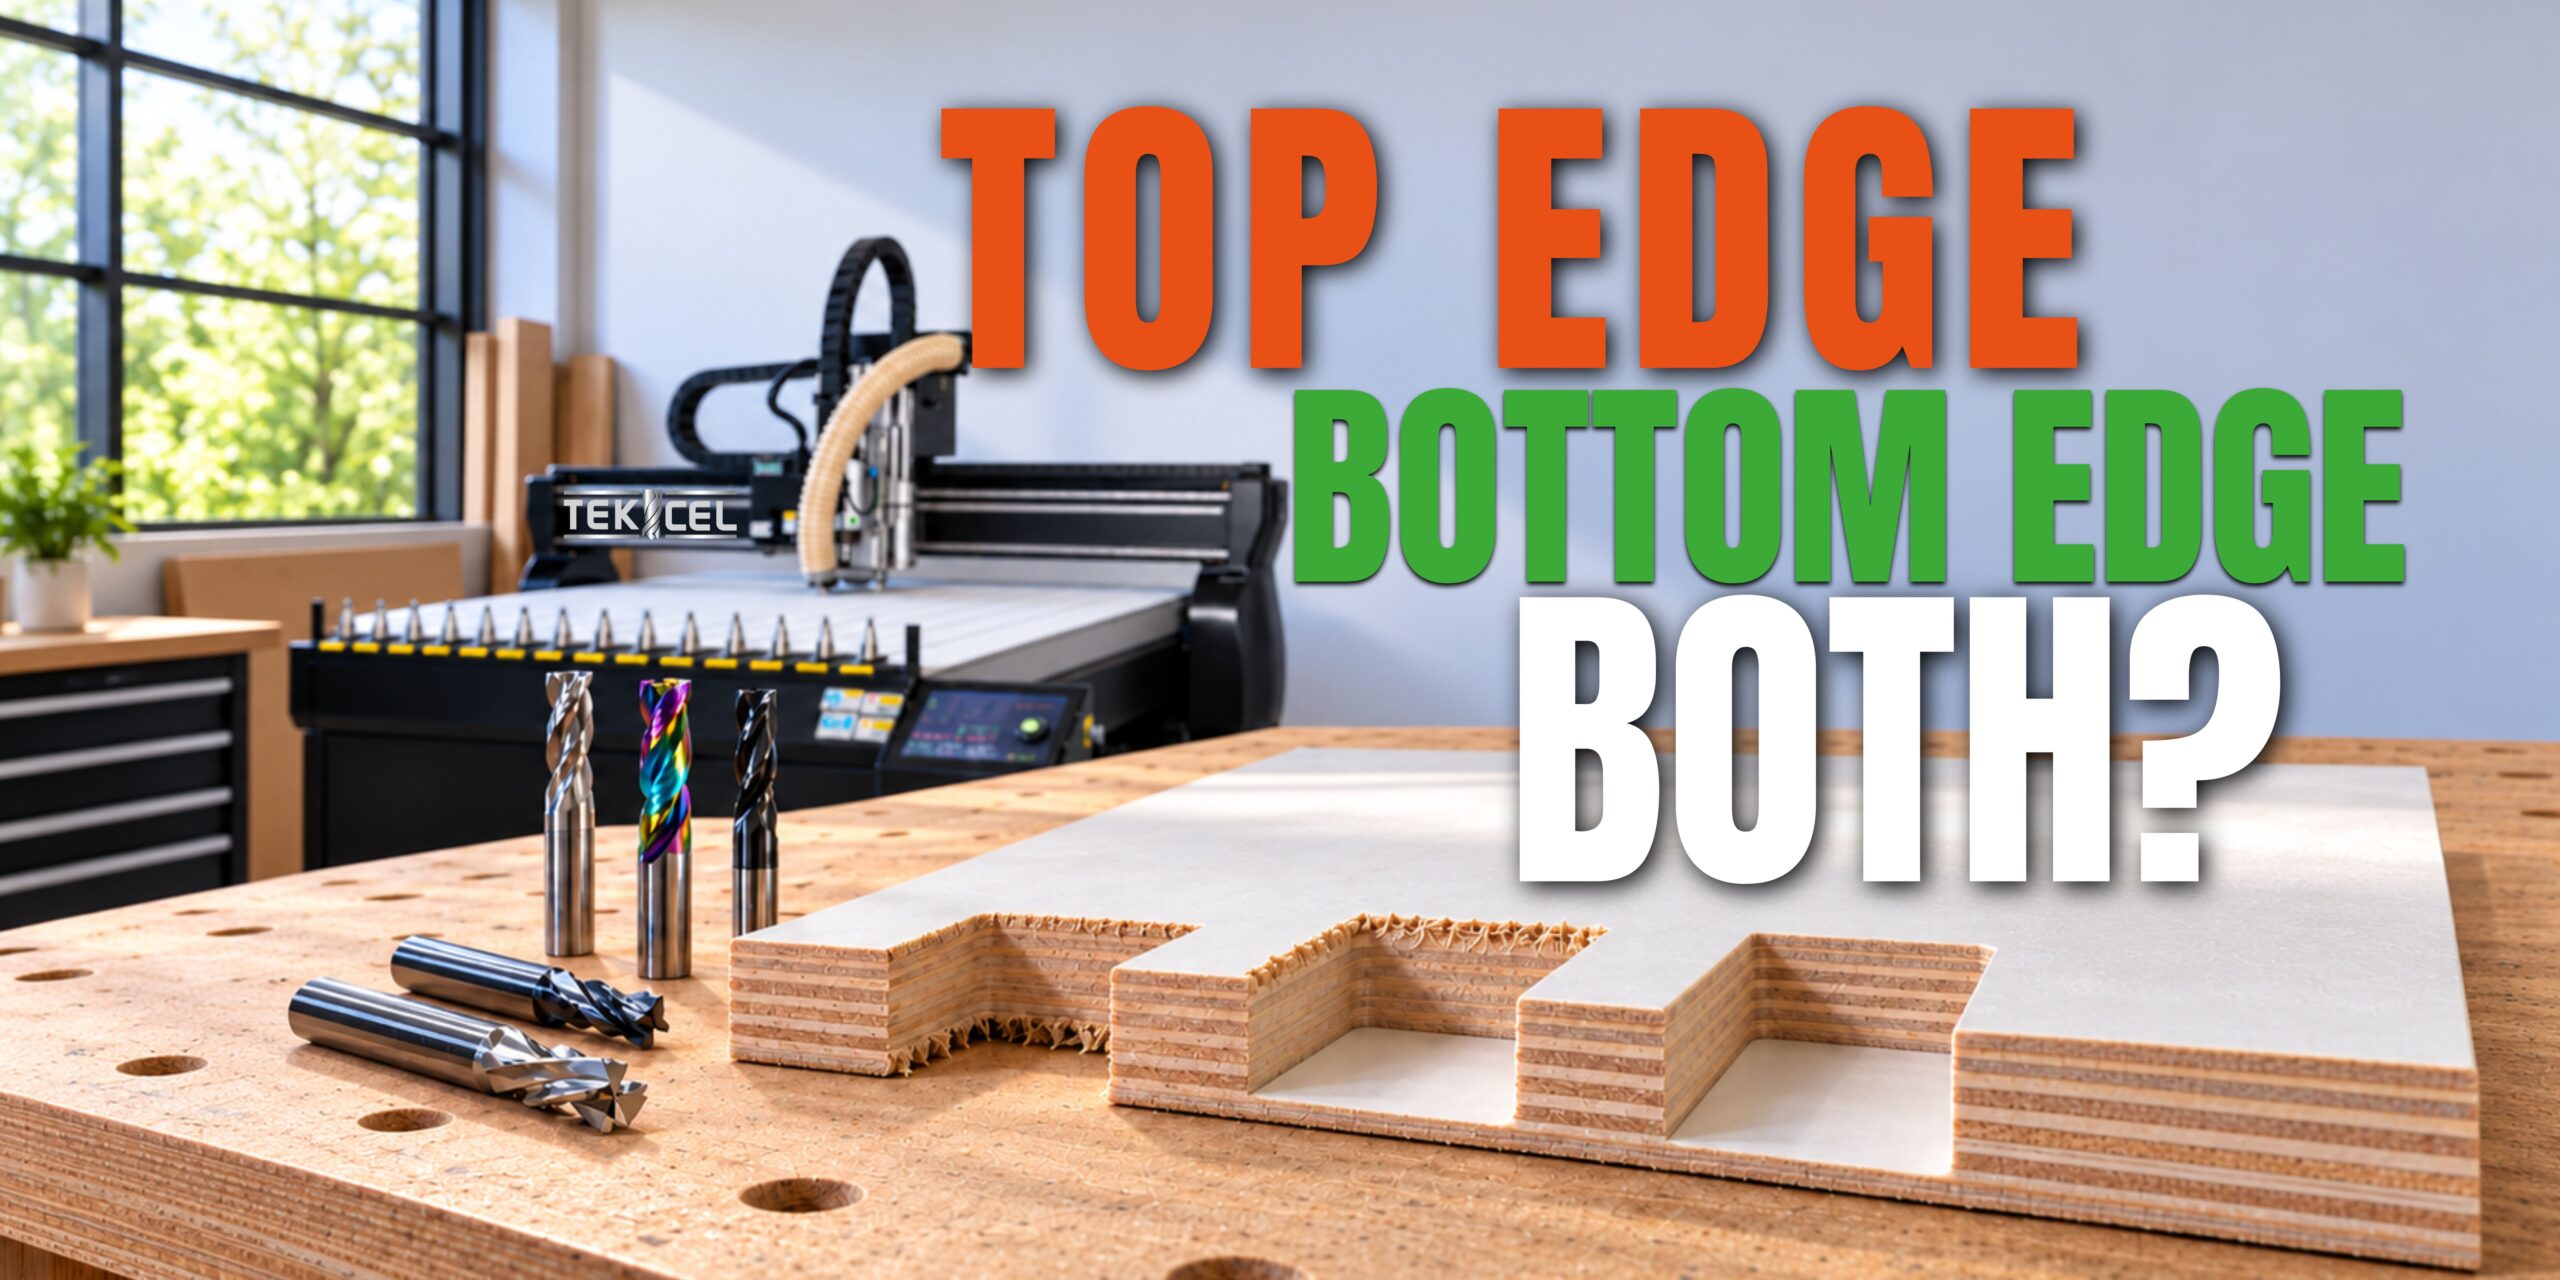
Where both faces require a clean finish, compression tooling combines opposing cutting directions to help minimise breakout on the upper and lower veneers. Its effectiveness depends on the cutter geometry, material thickness and cutting strategy.
Complete CNC Solutions offers several relevant cutters within its Woods & Laminates range, including the WF50U up-spiral, WF50D down-spiral and CC800/CCX600 compression ranges.
However, cutter selection must also account for the material's construction. Even the most suitable cutter cannot compensate for missing core material or poorly bonded veneers.
For compression tooling, the CAM programme must also account for the cutter's geometry, including the depth required to engage the appropriate cutting sections. Ramped entry and suitable lead-in and lead-out moves help avoid direct vertical plunging.
When should you change the cutting parameters?
If the board and cutter appear sound, examine the cutting conditions.
Start by inspecting the cutting edges for wear, chipping or material build-up. Plywood's timber fibres and adhesive layers can contribute to cutter wear, so a tool may no longer produce the same finish after extended use.
Where possible, compare a short cut using a known-good cutter of the same specification. This can help establish whether tool condition is contributing to the problem.
Next, observe chip formation, cutting noise and heat generation.
A cutter that rubs rather than removes material efficiently can generate excessive heat and accelerate wear. Conversely, an overly aggressive cut may increase cutting forces and damage vulnerable veneers.
Check the manufacturer's recommendations before adjusting feed rate, spindle speed or depth of cut. The appropriate settings depend on the cutter's diameter and geometry, material construction and machine capability.
Change one parameter at a time, using a representative test profile to assess whether the adjustment improves the finish.
Could workholding be affecting the result?
Plywood doesn't always sit perfectly flat on the machine bed. Bowing, uneven thickness or poor contact with the spoilboard can affect cutting depth and workholding.
On a vacuum table, uncovered zones, leakage or an unsuitable spoilboard may reduce effective holding force.
Small nested components are particularly vulnerable. As surrounding material is removed, the remaining contact area may become insufficient to hold each part securely. Movement during the final pass can damage the edge or affect dimensional accuracy.
Check sheet contact and vacuum performance before increasing cutting forces or altering the final pass.
Depending on the component, tabs, an onion-skin pass, an adjusted cutting sequence or alternative fixturing may help retain smaller parts.
A practical test before running the next full sheet
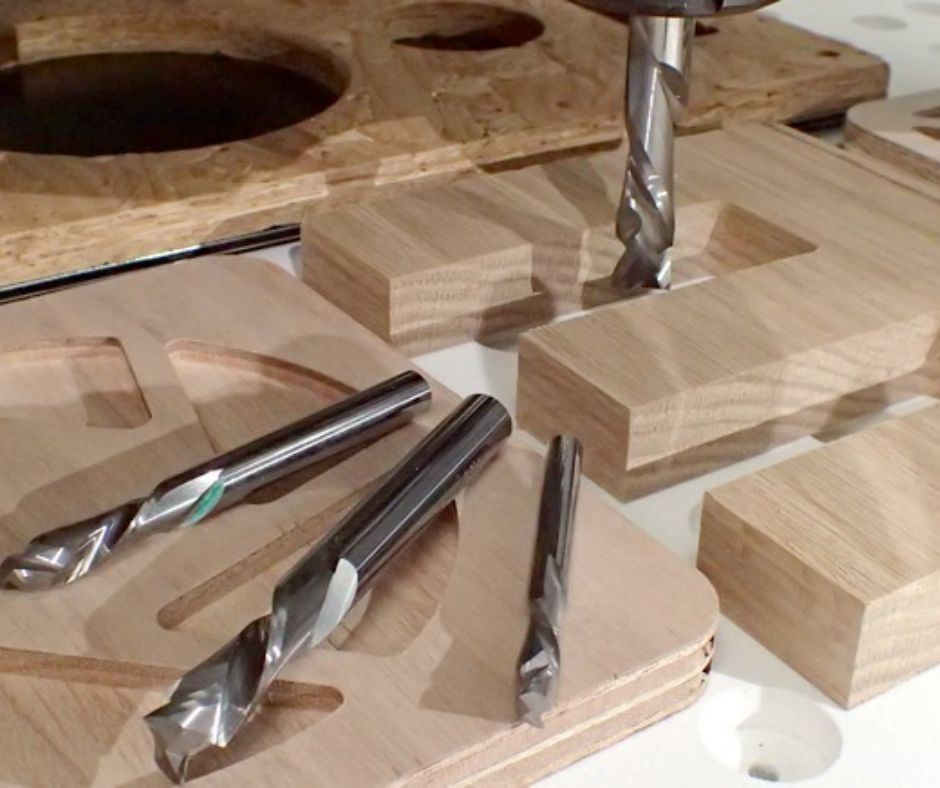
When plywood cutting results become inconsistent, a short, controlled test can save more time than repeatedly modifying the production programme.
Choose a representative profile that includes the edge or feature causing problems. Record the material batch, cutter specification and existing cutting parameters.
If you suspect the plywood, repeat the profile in a different area of the sheet or compare it with a known-good board. If the problem persists, test with a known-good cutter before changing the programme.
This helps separate material variation from cutter wear and machining conditions.
Keep a record of the results, particularly for repeat production. Photographs of edge defects alongside the relevant material and tooling information can also be useful when discussing an application with your tooling supplier.
Getting more consistent results from plywood
Plywood construction, cutter geometry, cutting parameters and workholding all influence the finished component. Identifying which of these is responsible for a problem can prevent unnecessary adjustments and reduce wasted material.
If you're experiencing inconsistent results, our team can help you select suitable tooling for your plywood, component and required finish.
We’re happy to help. Get in touch.
 (opens in a new tab)
If a 2m x 3m router is the right fit for your workshop and you are replacing an existing CNC router or digital cutter, you can see what is included in our Trade In, Trade Up offer here.
Further Blog Posts
Nov / 2026
Why Plywood Cuts Differently on a CNC Router
Nov / 2026
Compression router bits: when should you use them instead of upcut or downcut tooling?
Oct / 2026
CNC router buying checklist: what to compare before you invest

Oct / 2026
The Hidden Cost of Rack & Pinion vs Ballscrew CNC Drives

Sep / 2026
Choosing your next CNC router: which work should drive the decision?

Aug / 2026
BS 559-2: Three practical questions for signmakers

Aug / 2026
Routing polycarbonate, HDPE and solid surface: why material versatility starts with the machine
Jul / 2026
How CNC cutting is reshaping retail interiors and displays