CUSTOMER LOGIN

Essential CNC Router Tips for Cutting Acrylic

Essential CNC Router Tips for Cutting Acrylic

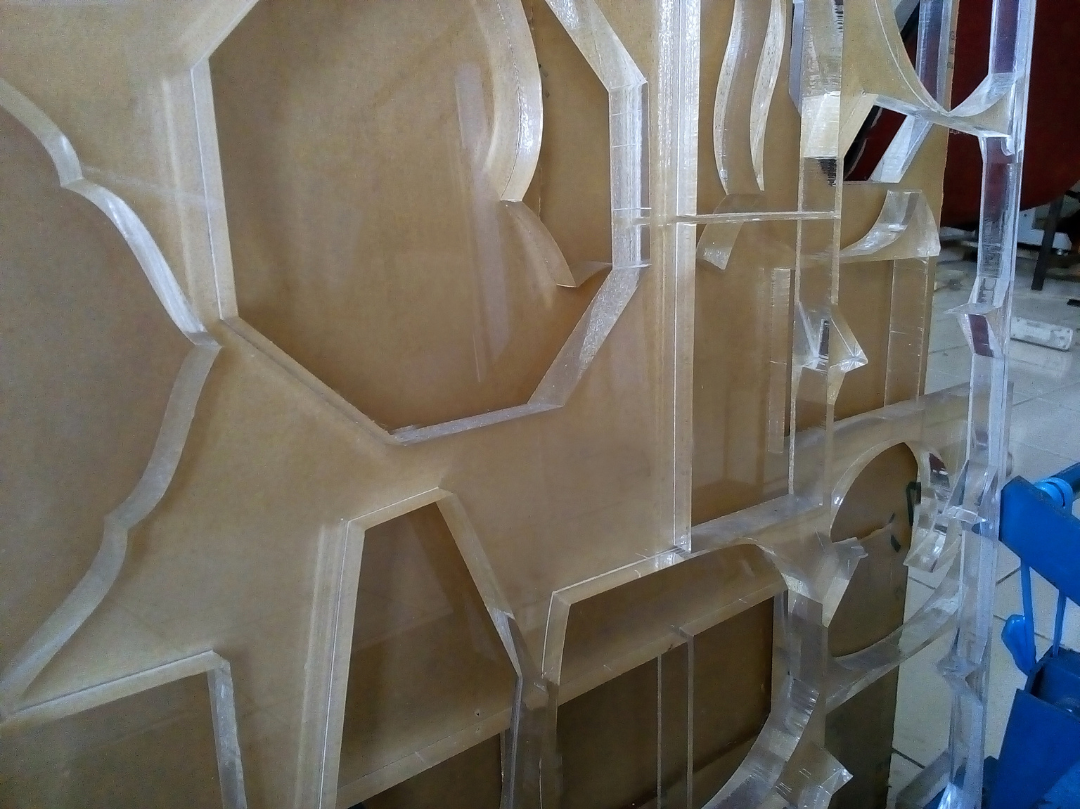
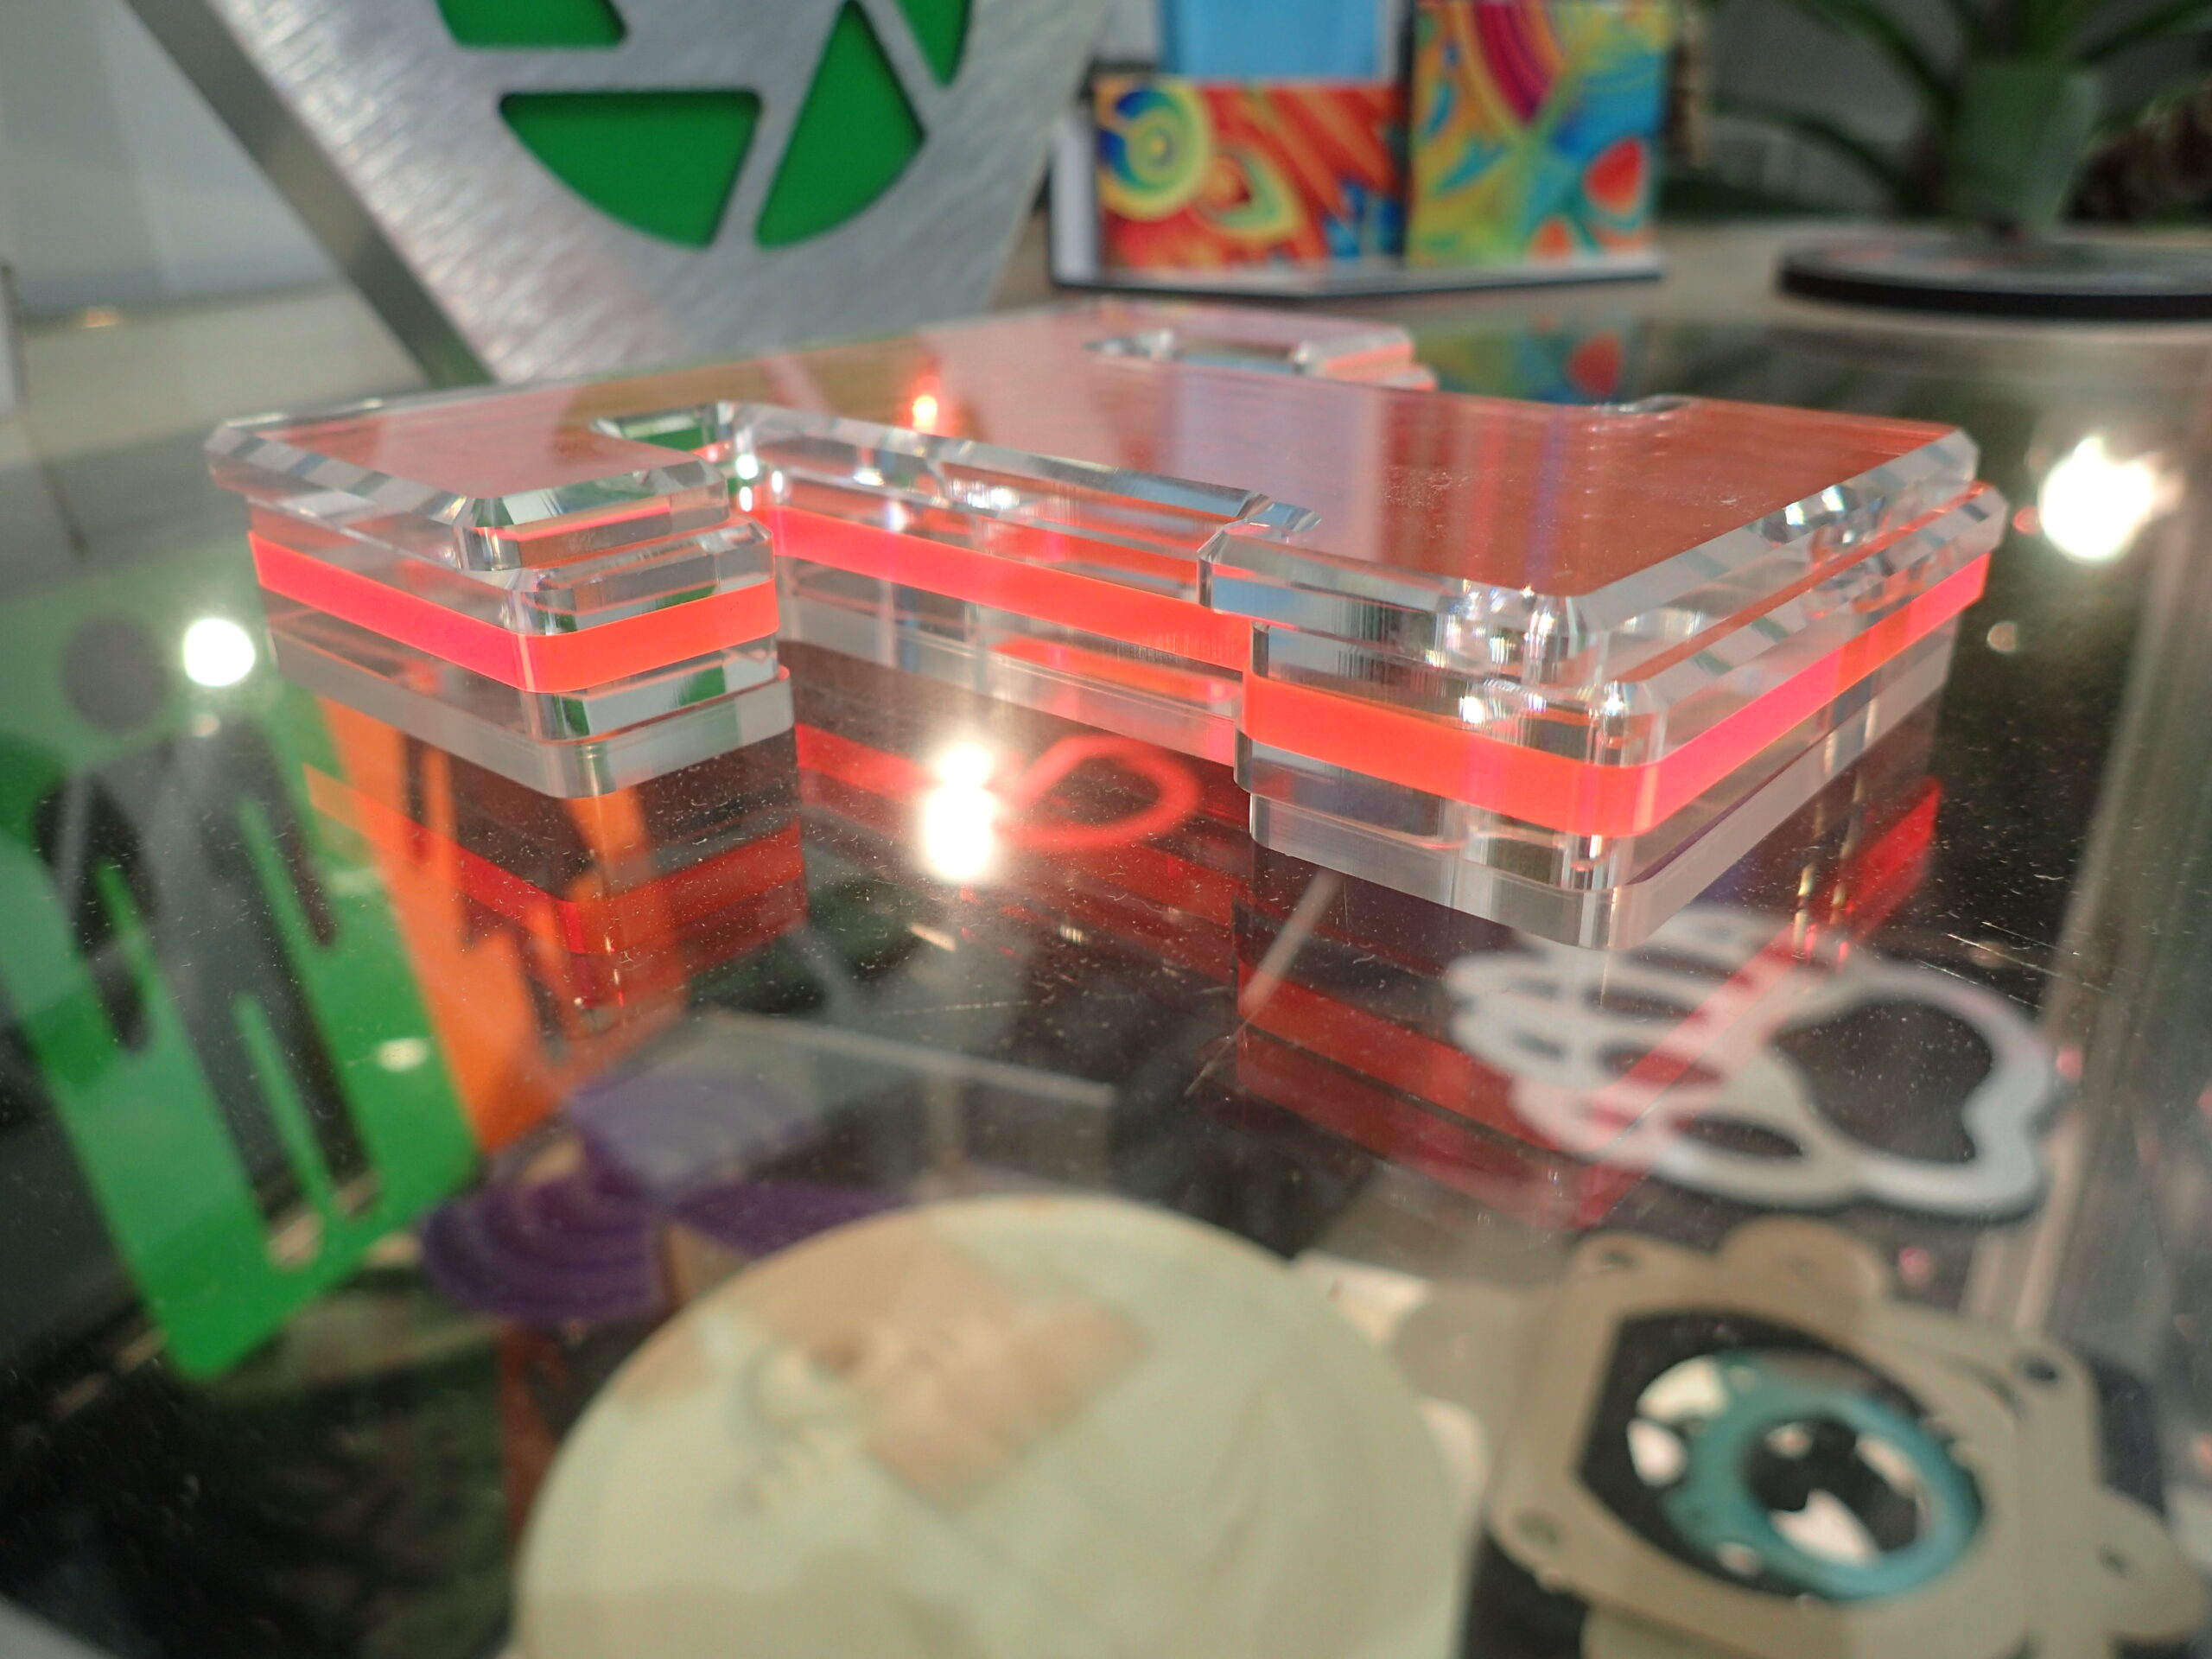
Acrylic is a popular choice across signage, POS displays, lighting diffusers and fabrication projects. It’s affordable, easy to source and ideal for volume production. But if you’ve ever experienced cloudy edges, melting, or chips that seem to stick to everything, you’ll know it behaves differently to other types of materials. Getting clean, professional results from acrylic on a CNC router takes more than just a good machine. It’s about using the right tooling, feed rates and strategies to avoid common pitfalls and speed up production.
Whether you’re new to cutting acrylic or looking to sharpen up your process, these tips will help you get more from every sheet.
1. Choose a Cutter Designed for Plastics
Tooling is where it all starts. Acrylic responds best to single flute cutters designed specifically for plastics. These cutters clear chips efficiently and generate less friction at the cutting edge, which means less heat and fewer issues with melting.
At Complete CNC Solutions, we recommend our CP Single Flute tool range. Engineered & designed by us to maintain high edge quality at good speeds, they’re optimised for Tekcel routers but perform well on other CNC machines too.
Avoid using cutters designed for aluminium or wood unless you know they’ve been tested for plastic applications. The wrong geometry & style can cause chipping, melting or clogging which can be costly.
2. Control the Heat Before It Becomes a Problem
Certain acrylics have different melting points and friction at the cutter can quickly cause issues. If you’re seeing cloudy edges or chips welding back onto the part or tool, there may be too much heat in the cut.
Here’s how to manage it:
Always start with a fresh, new cutter and never “Cross Pollinate" tooling i.e.: if you’ve cut ACM or Metal with a specific cutter NEVER use this cutter on Acrylic after. Always keep cutters in material groups and never mix materials with the same cutter.
Clear chips & swarf as they’re created. A strong chip / dust extraction system prevents recutting and heat build-up. Clearing the cut trough as you go will create far better edge quality. Talk to us about Dust Extraction systems.
Run correct spindle speeds and feed rates to maintain a proper chip load on the tooling. This ensures the heat exits with the chip, rather than staying on the material or cutter.
It’s not just about airflow. It’s about cutting clean and letting the chips carry the heat away.
3. Get Feeds and Speeds in the Right Zone
Cutting too slowly can cause heat to build up. Cutting too fast might result in chipping or inaccurate tool paths. You need to find the sweet spot for your machine, material and cutter.
As a starting point:
- Spindle speed:Max: 24,000 RPM
- Feed rate:Try 45mm to 65mm/per/sec, depending on cutter diameter and part complexity
Always test on a spare piece first and listen to the machine. A clean, crisp sound means you’re cutting, not melting. Always be prepared to stop and check your settings.
4. Secure Your Material
Make sure your vacuum system provides good, even suction and that the sheet is flat against the bed. For smaller parts or detailed jobs, try onion skinning or using tabs or bridges. This means leaving a small uncut layer at the bottom or small uncut tags so that parts stay connected until the final pass. It helps prevent movement and keeps your accuracy tight.
5. Keep Chips Away from the Cutter
Unlike MDF or metal, acrylic creates light, static-prone chips that can stick to surfaces and clog the cutter. If those chips are recut, they’ll generate heat and may even melt into the material.
A reliable extraction system is essential. Complete CNC Solutions supplies Tekcel routers with a robust standard extraction setup, and for more demanding workloads, offers the Tekcel Heavy Duty Extraction System
This high-capacity system handles everything from fine engraving dust to heavier plastic and metal waste, keeping the cutting path clear and reducing manual cleanup. That means smoother cuts, better vacuum hold-down, and more time spent machining, not cleaning.
In dry environments, consider using anti-static sprays or mats to stop lightweight chips from clinging to tooling or material.
6. Minimise the need for manual finishing
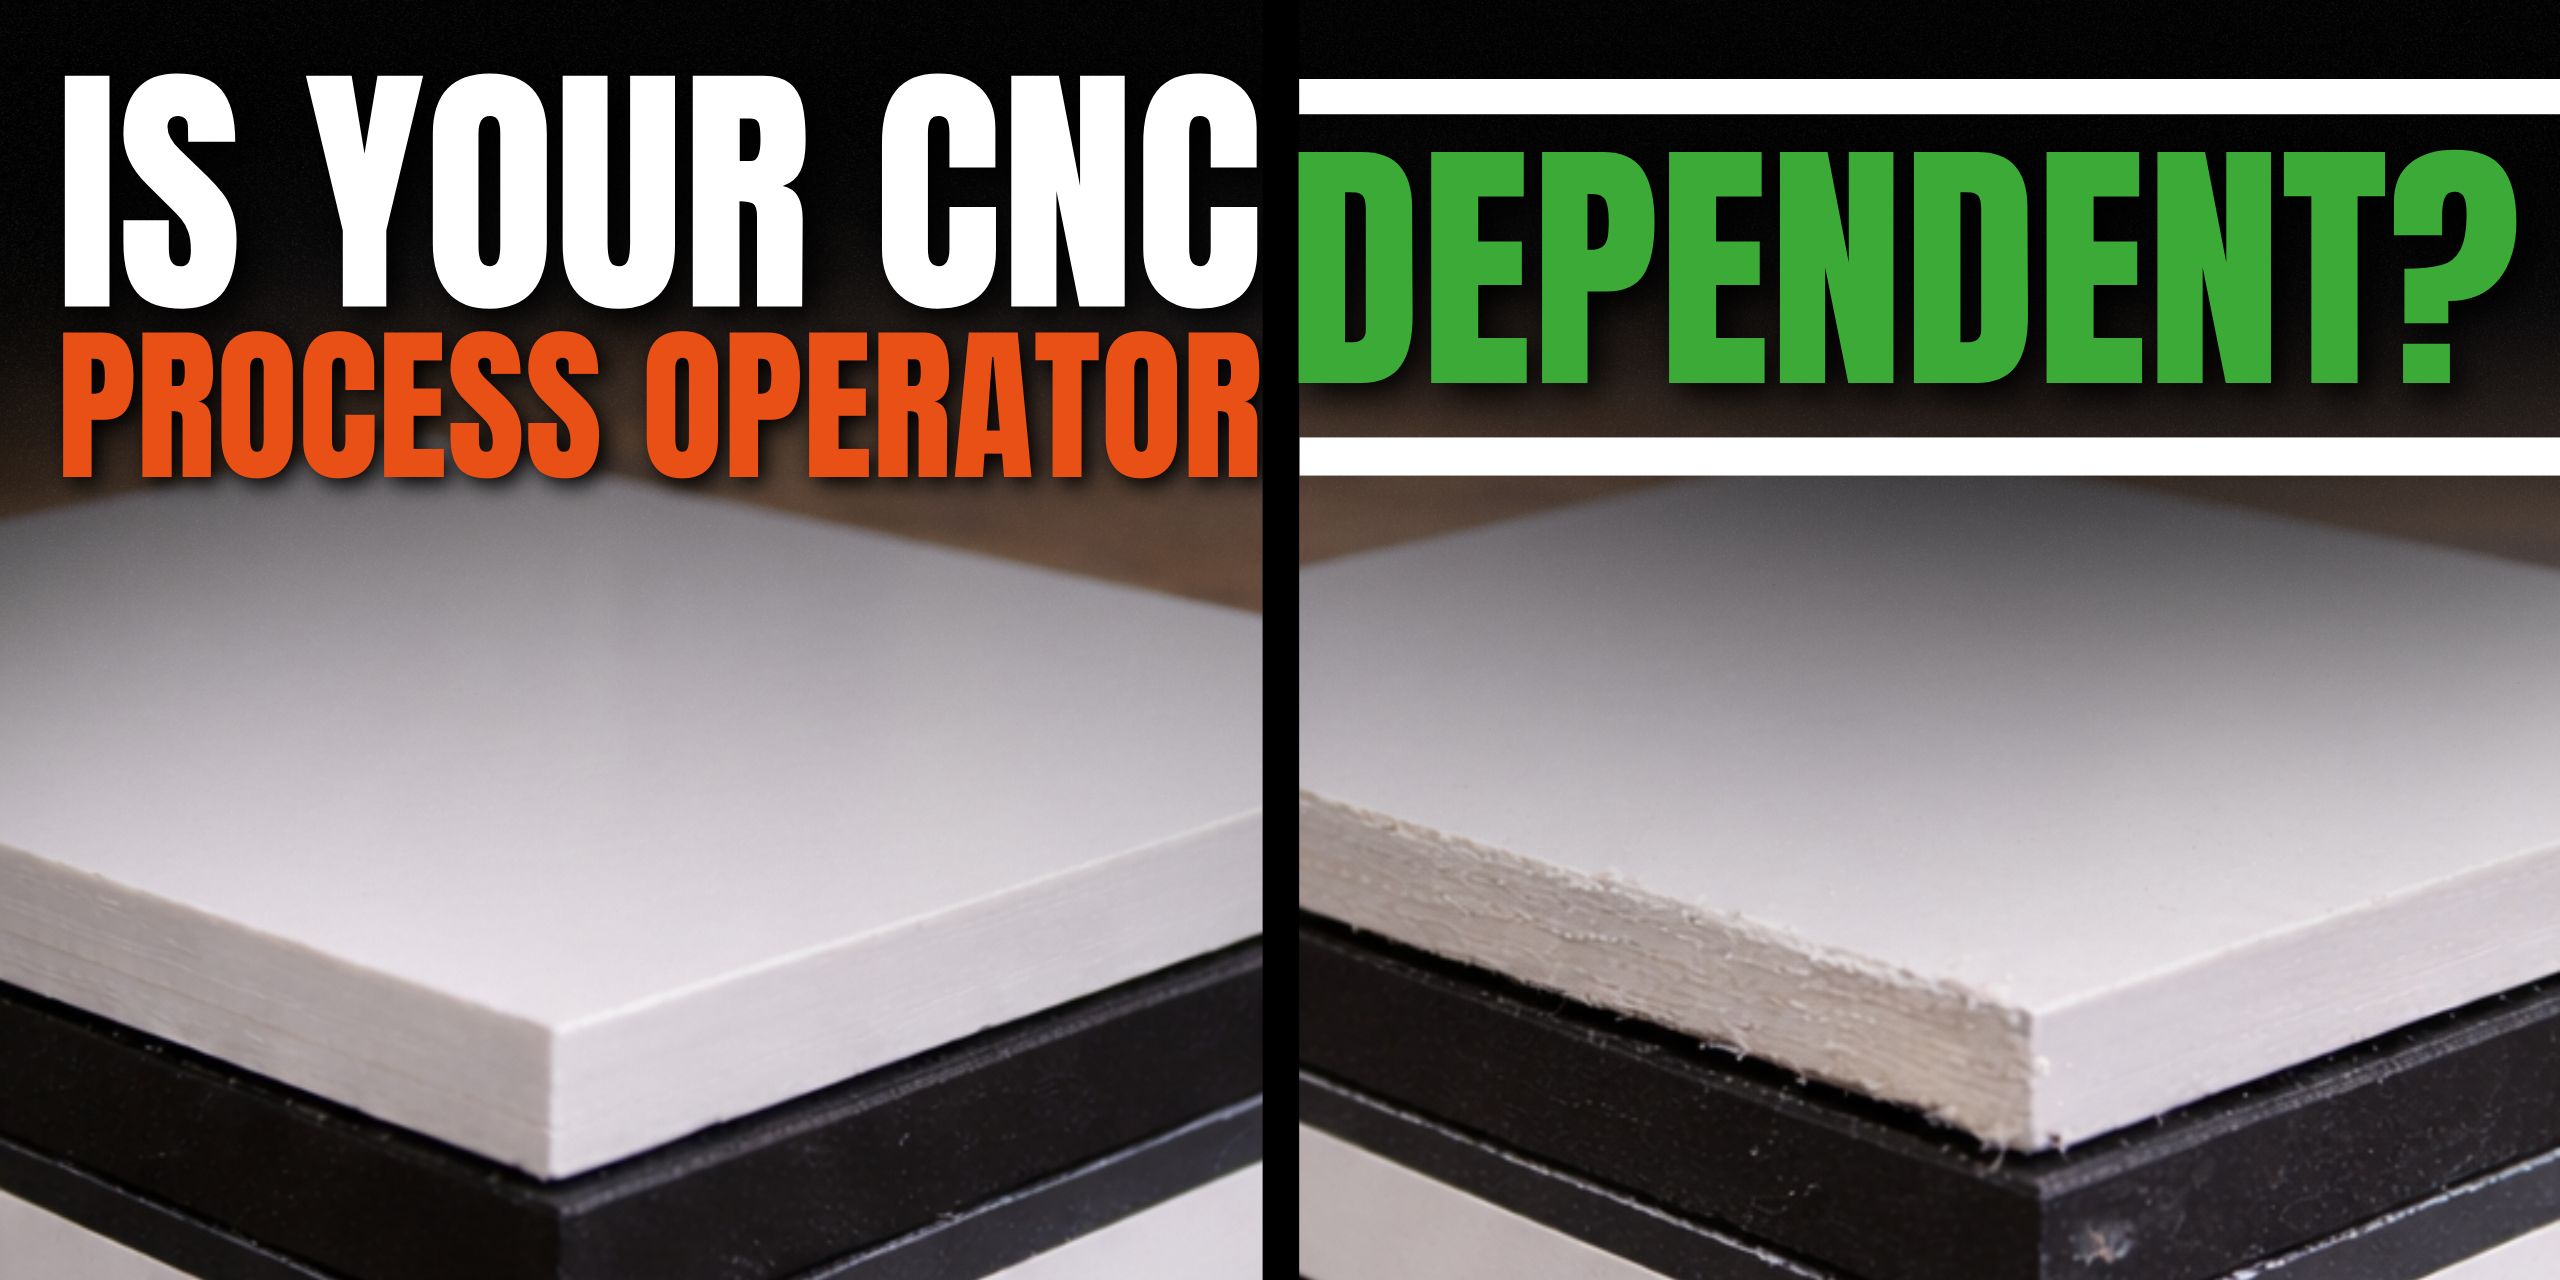
When your setup is right, your finish should be clean enough to require minimum or no finishing after. But if you’re still spending time, scrapping, flame polishing or manual finishing, it’s worth revisiting your tooling, feeds, speeds and cut strategy.
You can also try running a second light finishing pass with the same tool to smooth any rough edges. Some operators find that leaving a 0.2mm finishing allowance and then doing a shallow clean-up pass gives a much better edge.
Final Word
Acrylic can be tricky, but once you’ve got your process dialled in, it machines beautifully. The key is to reduce heat, evacuate chips, and use tooling that’s made for the job. With the right setup, you’ll see cleaner parts, longer tool life and faster production. Without the mess or stress.
If you’re unsure about which tooling to choose or want advice on coolant systems or chip extraction, our team is here to help. We don’t just sell tools; we use them every day and know what works.
Contact us for expert guidance and product recommendations tailored to your machine and materials.
Further Blog Posts
Mar / 2026
Why Two Operators Get Two Different Results on the Same CNC Router
Mar / 2026
The Overlooked Link Between CNC Reliability and Staff Retention

Mar / 2026
Why Some CNC Workshops Underquote Even When Demand Is Strong

Feb / 2026
Rethinking CNC Investment

Feb / 2026
What CNC Shops Miss When They Judge Tooling by Price

Jan / 2026
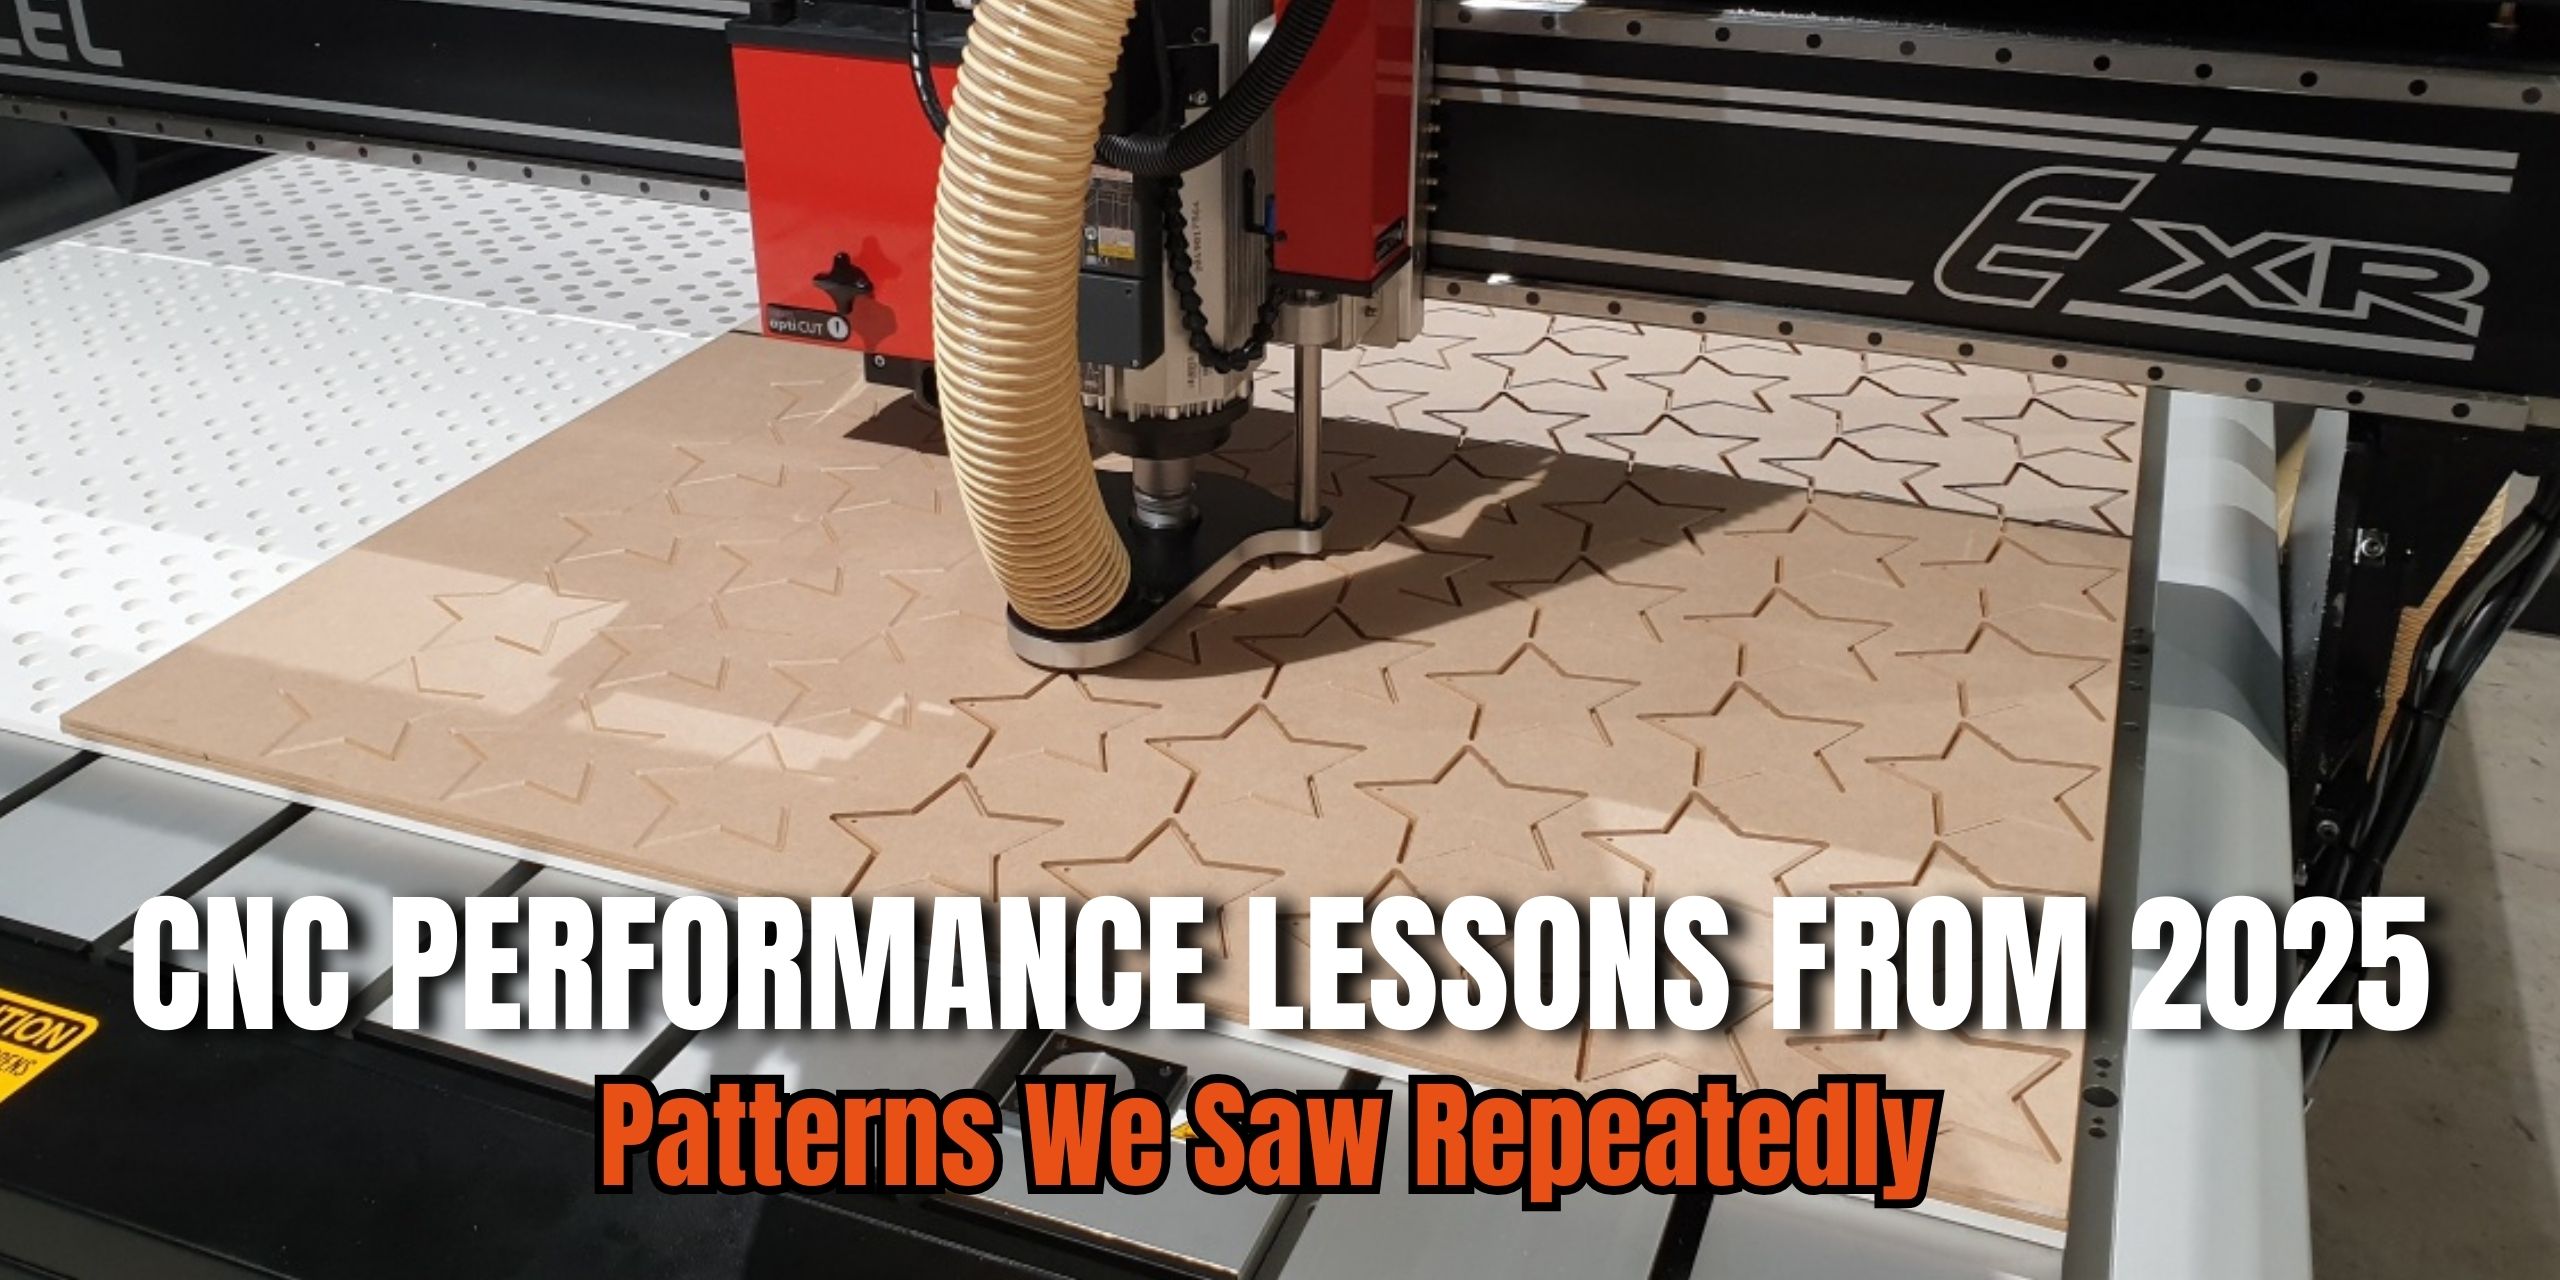
What 2025 Taught Us About CNC Performance
Jan / 2026
Design Your CNC Process Around the Cutter, Not the Other Way Round

Dec / 2025
The Multi Material CNC Toolkit for Vehicle Converters